How to Reupholster a Recliner Chair

Details
Details
Recliners are popular seating options for family rooms because they are comfortable and casual. There is something so relaxing about putting your feet up in a soft, reclining chair. But you don't have to trade style to get that feet-up comfort in your own home. If you have an old recliner that doesn’t fit your décor anymore, why not cover it in new fabric? We made a step-by-step video that will walk you through every detail so you can DIY reupholster your own recliner.
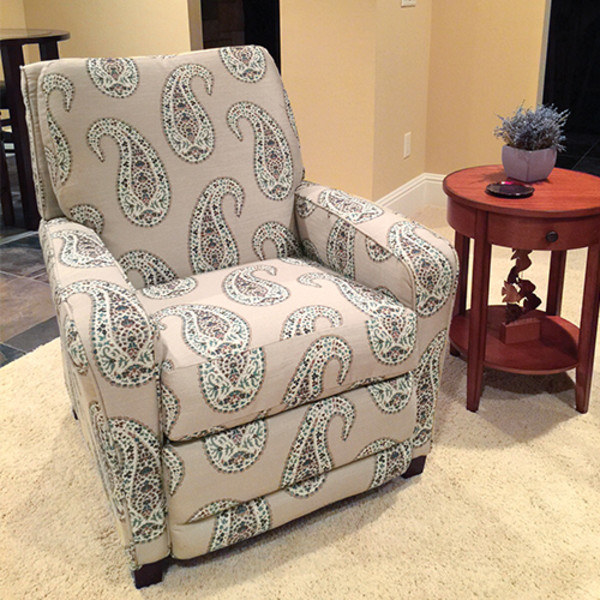
The recliner we’re recovering in the video was in really great shape but the fabric wasn’t working in the owner’s new home. A quick way to tell if a recliner is worth working on is to check the stability of the arms—are they loose or shaky? If they are only a little loose, you can tighten them, but if they are very wobbly, the chair may be beyond saving. Also make sure the reclining mechanism is still in good working order.
When selecting a new fabric for your recliner, think about the pattern. We don’t recommend choosing a very linear pattern, like stripes or plaid, because of the chair’s many moving parts. It can be hard to line the pattern up along the chair and as you use your recliner the pieces might shift and make the piece look sloppy. We chose a large-scale paisley, P/Kaufmann Paisley Park Lagoon (#106580), because the paisley print won’t have to perfectly align.
Reupholstering a recliner is a little different from other armchairs because it will actually disassemble into smaller parts. You can remove the back from the frame and then the seat deck and footrest. Each piece is reupholstered and then reassembled.
In the video, you’ll learn how to disassemble the chair and remove the old fabric, how to sew and install piping, arm covers, the seat deck, and the attached back cushion.
You’ll notice in the video that we didn’t cover how to sew the box cushion for the seat. We have a separate video just for the seat cushion: "How to Re-Cover a Cushion on a Recliner" (#200679XHT). Be sure to watch that installment to complete your project!
*Included in Upholstery Tool Kit #107122