2 Ways to Make Your Own Flag


Details
Details
Looking for a quick and easy way to dress up your outdoor living space? Try a flag. Whether you hang it on a flagpole, a hook in your garden or someplace else, a flag is a great option for outdoor décor. It’s a simple way to showcase your interests or just add more color to your yard. And in this DIY video, we’ll show you how to make not one, but two different styles of flags.
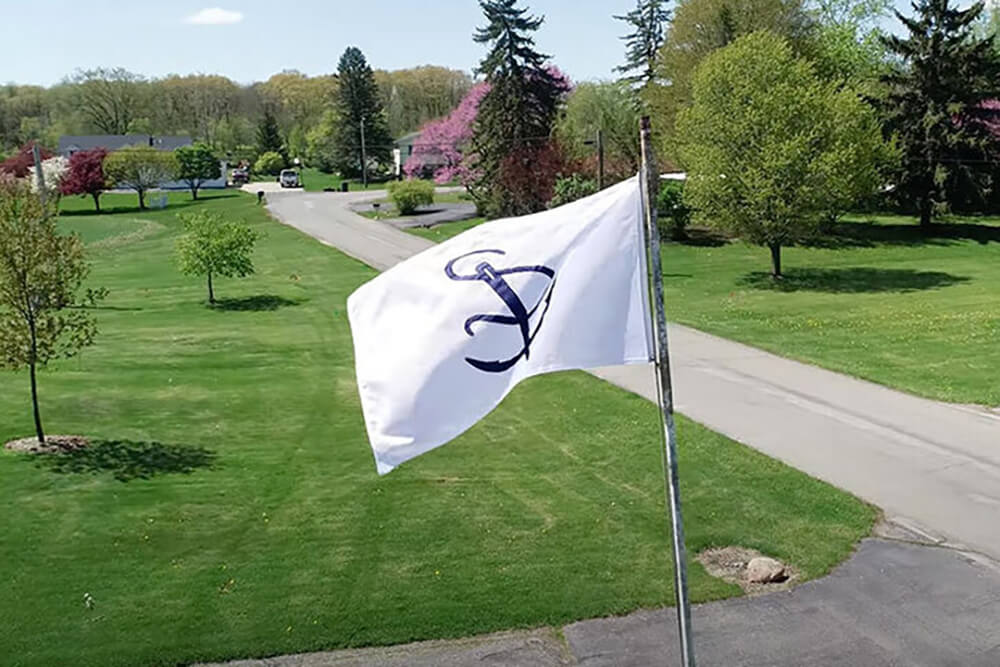
One of the many great things about this project is that it calls for only a handful of materials, including nylon fabric. Nylon is a top choice for DIY garden flags and flagpole-hung flags because it’s light and flaps easily in a breeze. This project will also introduce you to flag tape. It’s not sticky like basting tape — it’s like extra-wide binding that reinforces the flag’s hoist edge and provides a sturdy place to install grommets.
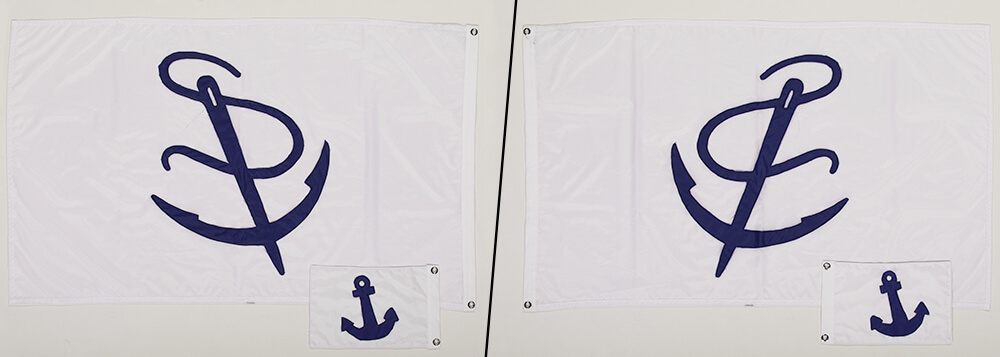
Although the two flag styles we’ll show you both have a design or emblem on them, there is an important difference between them. One flag is mirrored, meaning that the emblem looks correct on one side of the flag but backward on the opposite side. This style is good for flags that will not have words on them, since the words would be backward on one side of a mirrored flag. On the other hand, a double-sided flag with non-mirrored emblems is the style you want when creating a flag with words.
As always, there’s more to learn here than just the instructions for completing a project. We’ve packed our tutorial with helpful hints for keeping nylon fabric from fraying, avoiding puckering when sewing lightweight fabrics, using templates to create your emblem and so much more. All the information you need to master this easy sewing project is in this step-by-step video. Watch it now to learn how to make a flag.
How did you like this DIY flag project? Tell us what type of flag you made in the comments below. And if you’re looking for more ways to make your outdoor space feel just as homey as your indoor space, be sure to check out our Outdoor Living project blogs on Sailrite.com. There are almost a hundred more DIYs to help you bring your personal style outside. Happy sewing!
Chapters List:
- Intro — 0:00 min.
- Cutting Fabric to Size — 1:05 min.
- Tracing & Pinning Emblem — 2:22 min.
- Sewing Emblem — 5:21 min.
- Sewing Hems — 10:02 min.
- Adding Flag Tape — 16:38 min.
- Installing Grommets — 20:12 min.
- Seaming Base Panels Together — 21:27 min.
- How to Make a Double-Sided Flag — 23:23 min.
- Materials & Tools List — 29:54 min.
Materials List:
- Nylon 200D Optic White 60" Fabric (#100134)
- Nylon 400D Optic White 62" Fabric (#401222)
- Nylon 200D OG Blue 60" Fabric (#100377)
- Your choice of Tex 30-Tex 35 Polyester Thread from Sailrite
- Cotton/Polyester Flag Tape White, 1-1/2" (#510134)
- #2 Spur Grommet 3/8" (Nickel-Plated Brass) (#26316)
- Blackout White 54" Drapery Lining Fabric (#122515)
Tools List:
- Gingher® Scissors Right Hand Lightweight 8" (#101017)
- Scribe-All® Water Soluble White Marking Pencil (#120681)
- Multiuse Pins 1-1/2" (250 pack) (#102985)
- Sailrite® Ultrafeed® LSZ Walking Foot Sewing Machine (#311602)
- Seam Ripper Deluxe (#18104)
- Sailrite® Drill Hole Cutter Set (#121825)
- #2 Spur Grommet Die Set 3/8" (#18203)
- Barry King Mallet Hammer Style 3# (#68563)